Preparing Your Windows 11 Laptop for Return: Comprehensive Guide
Introduction
Whether it's because of a malfunction, upgrade, or simply a change of heart, there may come a time when you choose to return your Windows 11 laptop. When this day arrives, it is vital to know what to do in advance. This comprehensive guide prepares you by providing steps to backup essential data, properly handle installed software, clear personal data, and restore your laptop to its factory settings. The end goal is to ensure your personal information is protected and the device is reset to an appropriate state for return or reuse.
Why Is It Necessary to Prepare a Windows 11 Laptop Before Return?
Adequate preparation before returning a Windows 11 laptop is an essential step for several key reasons.
- Privacy and Security Protection: Windows 11 laptops are often used for personal or work purposes, entrusted with private information and sensitive data. This may range from confidential work files to personal photos and login access to various online platforms - including email, social media, and even banking services. Without proper preparation before returning, this information can be easily accessible to the next user, risking your privacy and potentially leading to identity theft.
- Courtesy and Respect for the Next User: Returning your laptop in its original state, free of personal data, shows respect to the next user. It's a professional courtesy that ensures the next user of the device can start fresh, without being encumbered by the residual digital footprint of the previous user.
- Data Preservation: Preparation is an opportunity to back up and salvage important data and files, thus protecting personal or work-related documents from being permanently lost.
In view of these critical considerations, it's clear that preparing your Windows 11 laptop for return ensures your privacy, safeguards important data, and upholds user courtesy.
How to Backup Your Essential Data in Windows 11?
On Windows 11, securing your essential files before you intend to return your laptop isn't as daunting as it sounds. The process mostly involves leveraging the system's incorporated OneDrive or using an external storage device. Here's how to go about this:
Backing Up Data Using OneDrive
Microsoft's OneDrive, seamlessly integrated into Windows 11, offers a convenient way to store your files online. By following these steps, you can secure your data:
1. Start by Opening File Explorer: Locate the specific files or entire folders you aim to back up.
2. Move to OneDrive: Perform a simple right-click on your chosen files or folders, then select the 'Move to OneDrive' option from the dropdown menu that appears.
3. Verify the Backup: Before moving forward, confirm that your data has been successfully saved to OneDrive by opening its app and checking.
Backing Up Data Using an External Drive
A trusty alternative to OneDrive, an external hard drive also serves as a dependable method for backing up your data. Here's the process:
1. Connect Your External Drive: Plug the drive into an open USB port on your laptop.
2. Select Your Files: Open File Explorer and choose the files or folders that you need to back up.
3. Copy and Paste to the Drive: Right-click on the files or folders, choose 'Copy', then navigate to your external drive and paste them.
4. Confirm the Backup: Always make certain your files have been correctly transferred to the external drive by opening it and checking for their presence.
Remember, proper data backup might be time-consuming, but it's a critical step in ensuring your essential files are safe before returning your laptop.
What Should You Do with Installed Programs and Software?
Before returning your Windows 11 laptop, effectively managing and uninstalling your installed programs and software is vital. Here's why:
- It clears up essential space on your hard drive, providing the next user with maximum available storage.
- It eliminates personalized settings you may have installed, offering the next user a fresh experience.
- It reduces any security risks associated with unauthorized access to your apps or software.
Now, let's delve into the detailed steps:
1. Accessing the Apps Section: Begin by navigating to the 'Settings' on your laptop and proceed to the 'Apps' section. Here, you have a comprehensive list of all your installed apps and software.
2. Identifying the Programs to Uninstall: Within the 'Apps & features', you can scroll through the list and identify the software and programs you've installed.
3. Initiating the Uninstallation: Once you've identified a program you want to remove, click on it and an 'Uninstall' button should appear. Clicking this button initiates the removal process.
Repeat this process for all the software you wish to uninstall.
Remember to restart your laptop after you complete the uninstallation process to ensure that the changes have been properly implemented.
In performing this task, you are not just ensuring a clean laptop return, but also preventing potential breaches of your data. Thus, before you return your Windows 11 laptop, correctly handling your installed software should be a priority.
What Are the Steps to Clear Personal Information in Windows 11?
Before returning your Windows 11 laptop, it's crucial to ensure all your personal information is thoroughly removed to prevent any potential misuse. Follow these straightforward steps:
1. Browser Data Removal: This step involves clearing your browsing history, cookies, cache, and any other data stored by your used browsers. These steps vary slightly by browsers, the steps in general:
- Open the browser settings or preferences
- Look for options stating "Privacy", "Clear Browsing Data" or similar
- Choose to clear browsing history, downloaded history, cookies, and other site data, cached images, and files
Stats Essential: According to a report by cybersecurity firm Symantec, 96% of all information breaches happen at the application layer, most commonly through web browsers. That's why clearing browser data is an important step.
2. Removal of Saved Names and Passwords: These are usually stored in the 'Credential Manager' of your system.
- Open the 'Control Panel'
- Click 'User Accounts', then 'Credential Manager'
- Under the ‘Windows Credentials’ and ‘Web Credentials,’ remove any stored passwords
3. Logging Out of All Accounts: Almost all websites and platforms (e.g., email, social media, online shopping sites) will require you to create an account. Be sure to log out of all of them.
- Open each site in your browser
- Navigate to 'Profile' or similar settings
- Click on 'Log out' option
4. Disabling Password Managers: Many modern browsers offer to remember passwords. If you've enabled this feature, disable it to protect your personal information.
Following these steps helps maintain your privacy and ensures the next user of this device has a clean slate to start with.
How to Restore Windows 11 Laptop to Factory Settings?
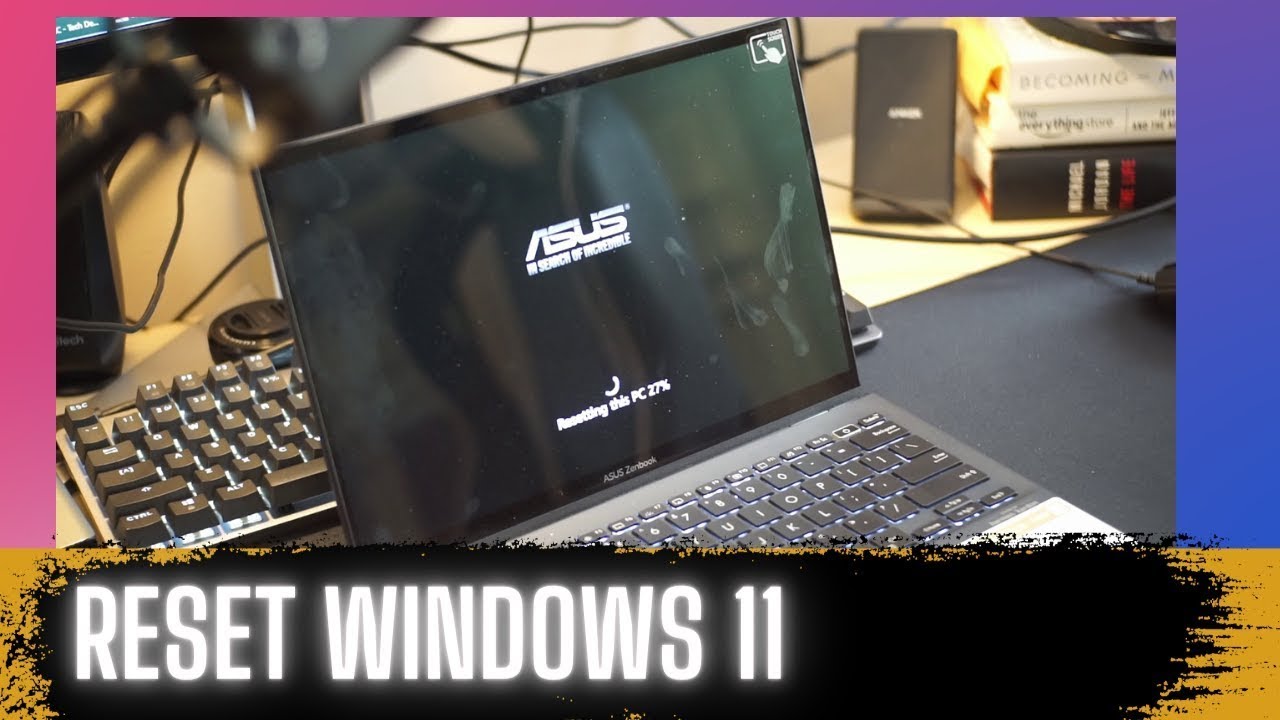
Restoring a laptop to factory settings means deleting all personal files and user accounts. Hence, performing a factory reset should be the last step when preparing your Windows 11 laptop for a return. Scanning through this method outlined in bullet points can guide you easily through the process:
1. Backup All Crucial Files: As this process will eliminate all personal files on your Windows 11 laptop, it's absolutely mandatory to backup all essential documents, photos, or videos. You can use external hard drives or cloud storage like OneDrive for this purpose.
2. Navigate to 'Settings': Click the 'Start' button and pick 'Settings' from the menu list. This action opens a new window of diverse laptop settings.
3. Locate 'System': Within the 'Settings' window, find and click on 'System'.
4. Search for 'Recovery': In the System window, among the left-hand side list, find 'Recovery' and click on it.
5. Initiate 'Reset PC': Within the 'Recovery' section, 'Reset PC' is clearly highlighted. Click on 'Get Started' under this headline.
6. Choose 'Remove Everything' Option: As you begin the process, the system prompts you to choose between 'Keep my files' and 'Remove everything'. Since you need to factory reset the laptop, choose 'Remove everything'.
7. Wait for Reset Completion: The system now starts the reset process. Be patient as it may take a long while, depending primarily on the number of files stored on your laptop.
Bear in mind that after applying the above steps, your laptop will be clean-slatted, just as fresh as it was when you first got it.
Conclusion
Returning a Windows 11 laptop involves a series of important steps, notably securing your personal data. By backing up your data, uninstalling your installed software, clearing personal information, and restoring factory settings, you ensure the protection of your privacy while providing a clean slate for the device's next user. Remember, your digital footprint matters as much as your physical one.

Related FAQs about what to do before returning a laptop windows 11
Why is a factory reset necessary before returning a laptop?
A factory reset is necessary to completely erase personal data and restore the device's settings to its original, out-of-the-box state. This ensures privacy protection and provides a fresh start for the next user, preventing any unintentional personal data disclosure.
How can I ensure all my personal data is securely removed from the laptop?
For complete assurance of personal data removal, follow these steps: backup necessary data, uninstall personal programs, clear browser and system history, log out from all user accounts, disable password managers, and finally, perform a factory reset on the laptop.
Are there any specific applications I should pay attention to before returning the laptop?
Yes, user-specific software, web browsers, and applications that store personal information (e.g., social media apps, email clients, financial apps) should be uninstalled or logged out from and their data cleared before returning the laptop.


